
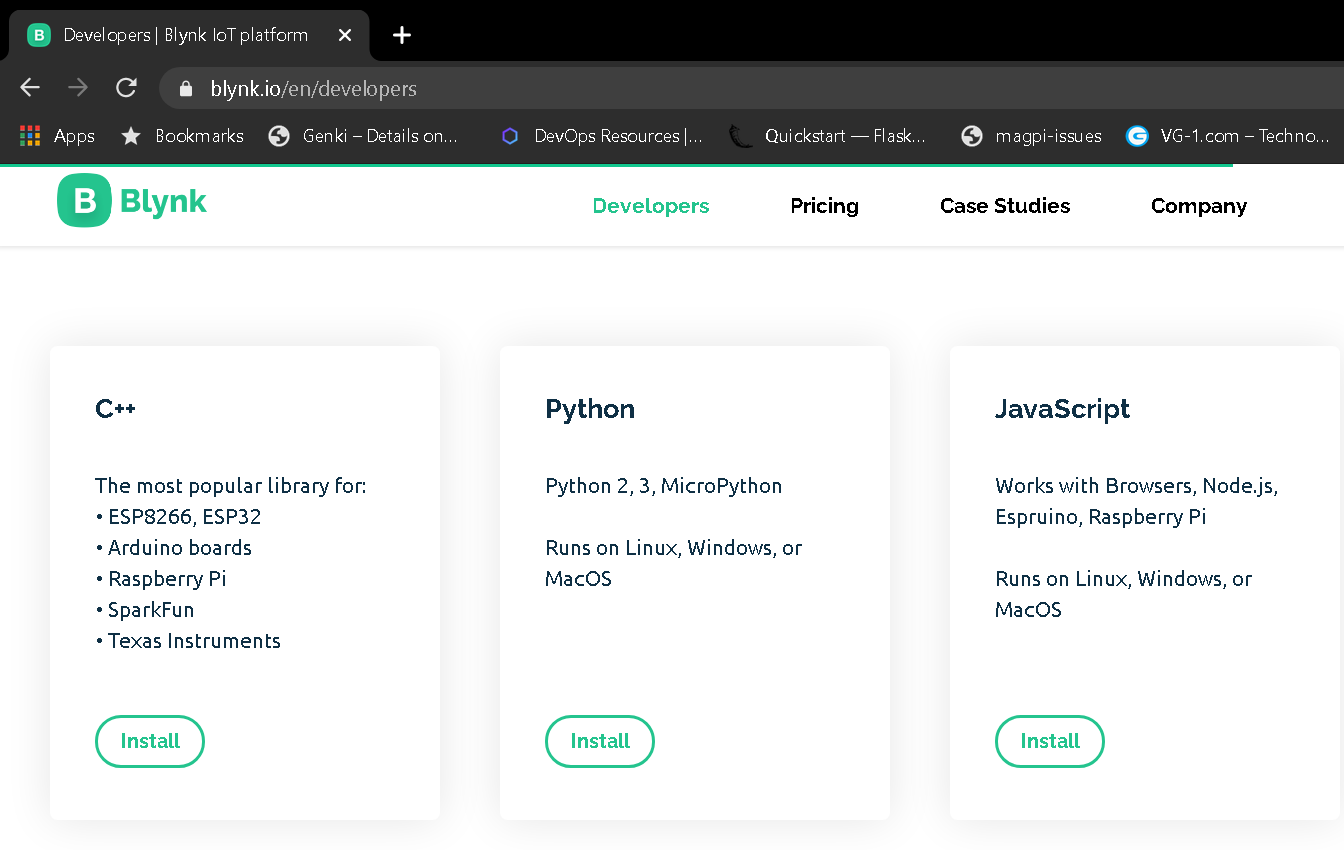
Instruction can be found on https://blynk.io/en/developers and clicking on Python Install
Install the Python client for Blynk
This will open the github repository which has instructions to check and install python.
For this instruction assumes you have Python installed on RaspberryPi already so the Blynk Library needs to be installed
pip install blynklib
Clone the github repository to get examples
sudo get clone https://github.com/blynkkk/lib-python.git
Install the Python package for DHT11 Sensor provided by Adafruit
pip install Adafruit-DHT
navigate to /lib-python/examples/raspberry/
A weather station python script is provided it implements DHT22 and BMP180 sensor modules. This instruction will modify the example to use a DHT11 sensor only and Disable BMP180 functionality. If you get errors of DHT or Blynk not being accessible Put the weather station.py, blynklib.py and AdafruitDHT files in the same folder. Instruction for wiring the RaspberryPi to the sensor is listed in the example: connect 5V to VCC, GND to ground, and GPIO17 to Data.
Edit the weather station python script:
Comment out
#import Adafruit_BMP.BMP085 as BMP085
adjust sensor object
dht22_sensor = Adafruit_DHT.DHT22 to .DHT11
and comment out all code after the # BMP180 remaing in the method read_handler( )
in the lib-python/ folder open the blynklib.py and in the class Connection modify the __init__( server = ‘[server]’ , port 8080 ) method if using a local server (Not using blynk-cloud.com)
by default set to:
def __init__(self, token, server='blynk-cloud.com', port=80, ssl_cert=None, heartbeat=10, rcv_buffer=1024,
run the python script and the blynk logo should appear. data will not show up until the app connects to the server. Setup the App