
MariaDB
To install the database engine use the following command
sudo apt-get install mariadb-server php-mysql -y
sudo service apache2 restart
PHPMyAdmin
Add PHPMyAdmin installation packet manager
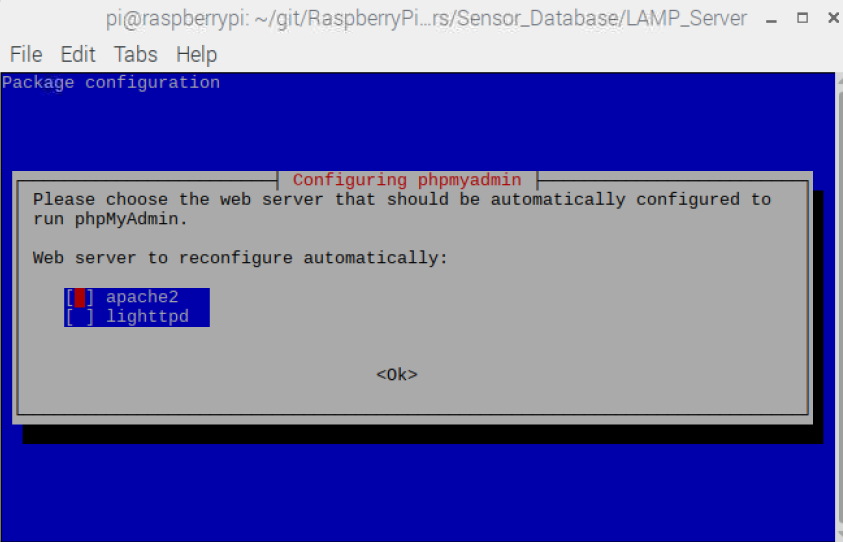
sudo apt install phpmyadmin
Select Apache Setup for LAMP Server
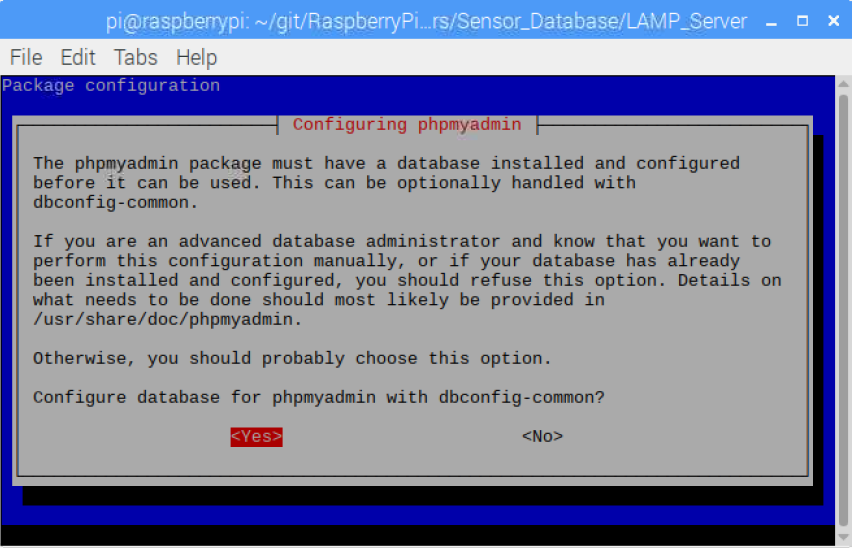
Then configure database
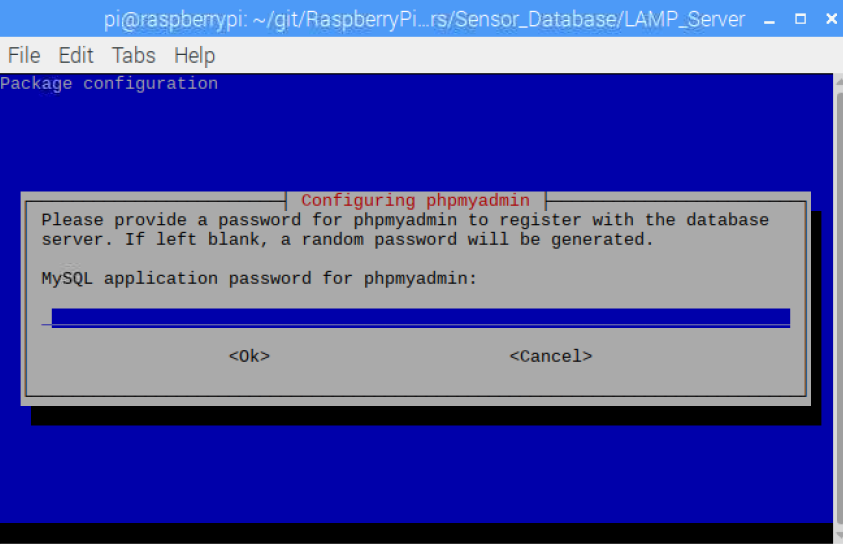
Create password
then setup database
Enter MySQL ‘root’ level password
sudo mysql -u root
[MariaDB] use mysql;
[MariaDB] update user set plugin='' where User='root';
[MariaDB] flush privileges;
[MariaDB] \q
#This needs to be followed by the following command: mysql_secure_installation
Delete the default mysql root user and create a new mysql root user, for use by the webserver and php scripts.
You will be asked Enter current password for root (enter for none): — press Enter.
Type in Y and press Enter to Set root password?.
Type in a password at the New password: prompt, and press Enter. Important: remember this root password, as you will need it later to set up WordPress.
Remove anonymous users. Y
Disallow root login remotely. Y
Remove test database and access to it. Y
Reload privilege tables now. Y
#The message will appear:
All done! Thanks for using MariaDB!.
Web server will be connected to PHP and MySQL
Test PHP server at url : http://127.0.0.1/phpmyadmin
login user: root Password: entered in previous steps
If there is no connection to PHP then move phpmyadmin config file
cd /etc/apache2/conf-available
sudo ln -s ../../phpmyadmin/apache.conf phpmyadmin.conf
cd /etc/apache2/conf-enabled
sudo ln -s ../conf-available/phpmyadmin.conf phpmyadmin.conf
sudo service apache2 restart