
Required Hardware:
RaspberryPi 3 B+ ( VNC enabled and configured )
SenseHat
Windows 10 computer
Required Software Windows 10:
Visual Studio Code
gitbash
.NET Core installed
.Net IoT Libraries
- System.Device.GPIO
- Iot.Device.Bindings
(Repository from github.com/dotnet/iot)

Clone Repository from github using gitbash from the directory folder where the code will be compiled.
git clone http://github.com/dotnet/iot iot
Using .NET Core to Build and Publish App
Using VSCode navigate to the folder:
C:[Your Folder]/iot/devices/SenseHat/samples/PressureAndTemperature.Sample.cs
Start a command Prompt Terminal, then build and compile the source code.
dotnet publish -r linux-arm
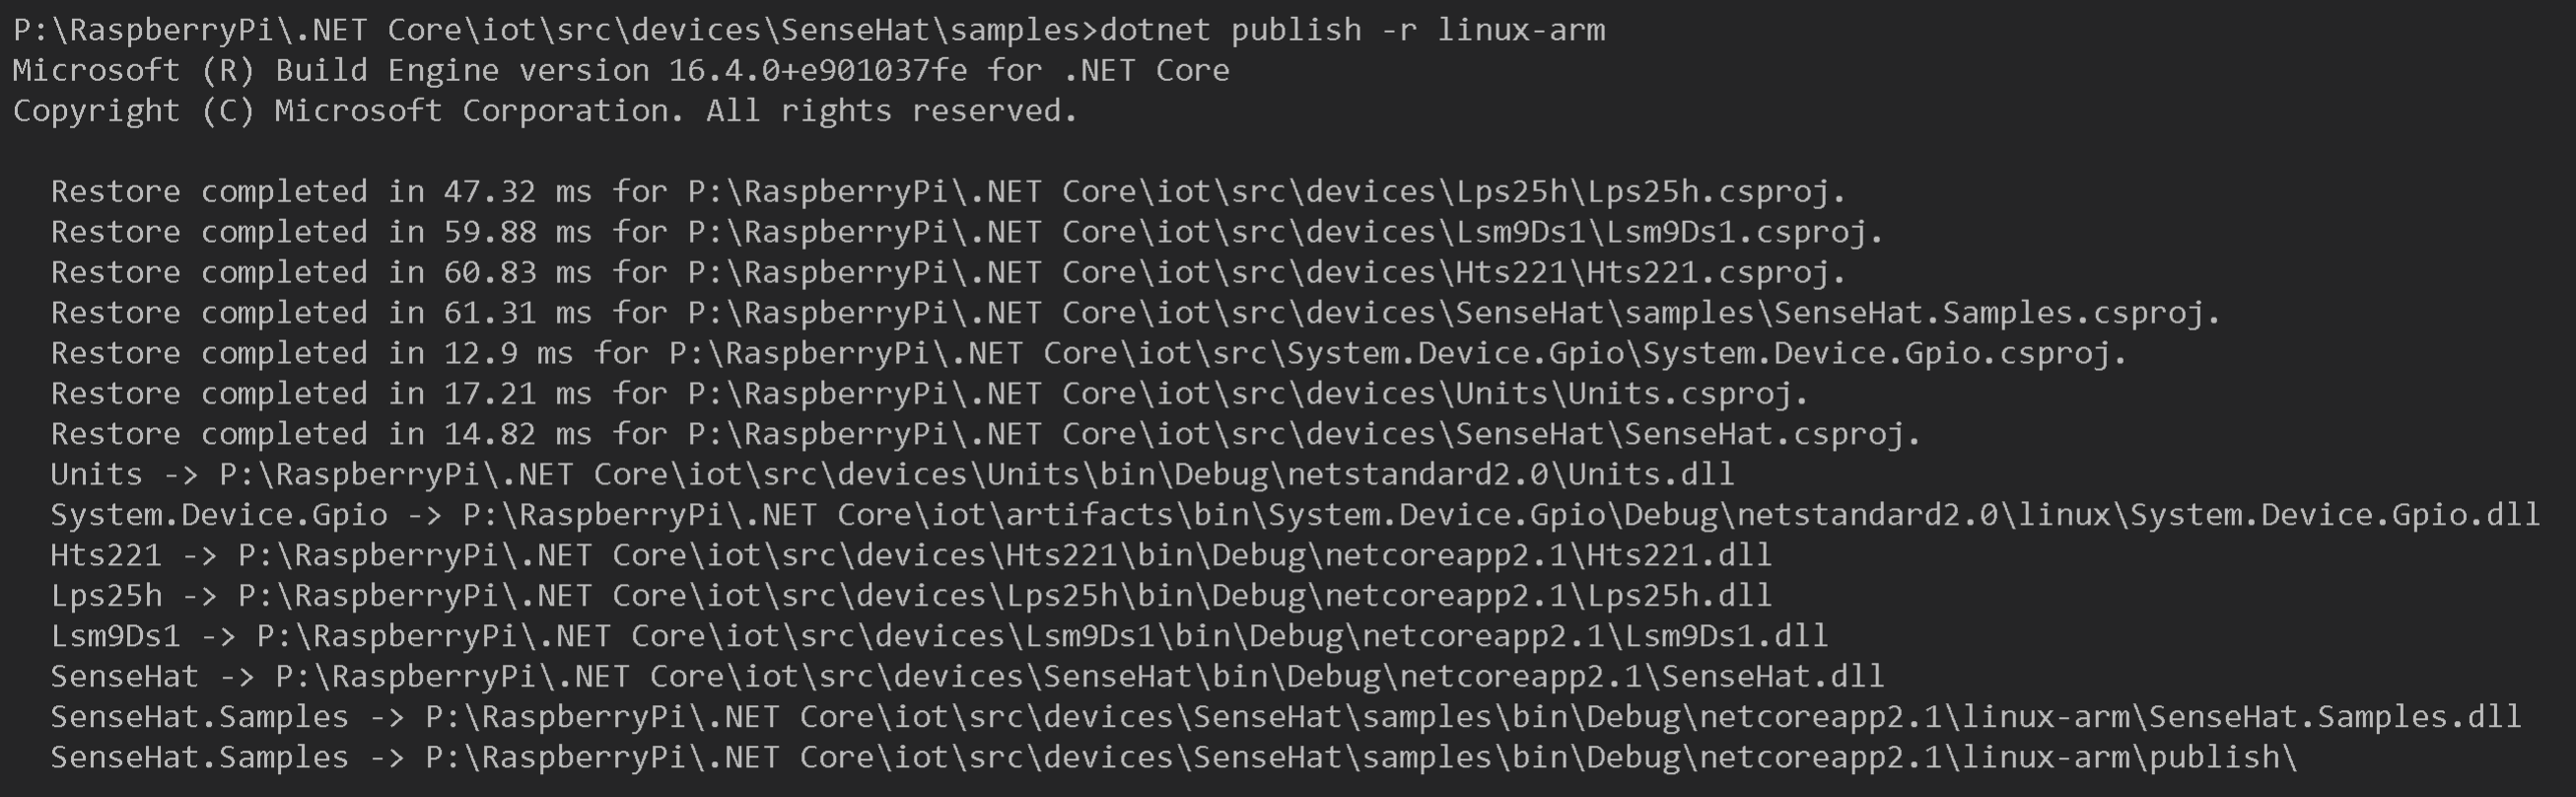
This will create the app publish folder that will have to be copied to the RaspberryPi.

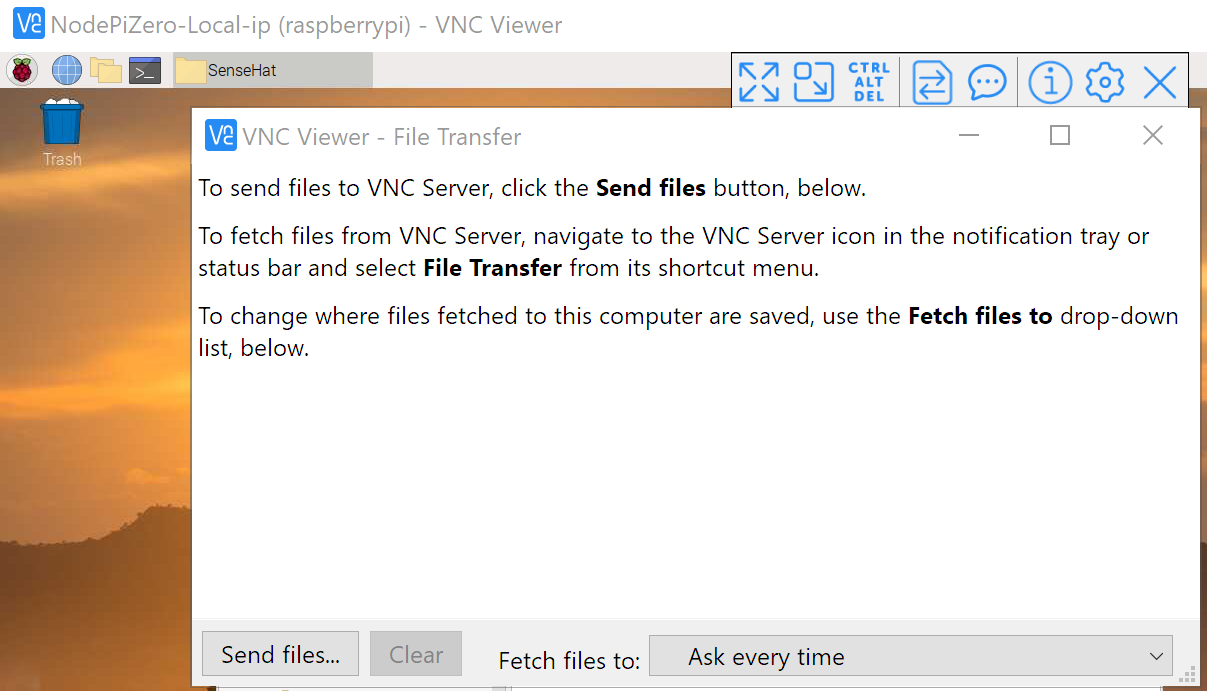
Using the VNC File Transfer function the Folder can be copied to the RaspberryPi
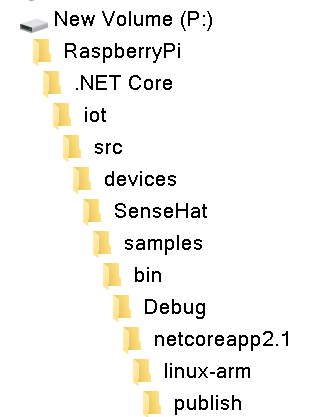
select the folder under \bin\debug\netcoreapp2.1\linux-arm\
click send entire folder and click yes if prompted
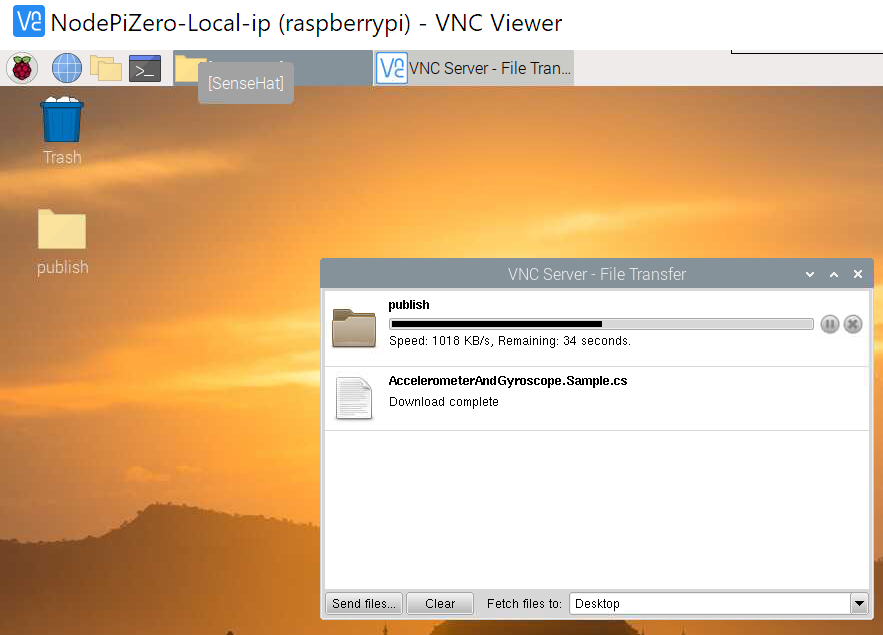
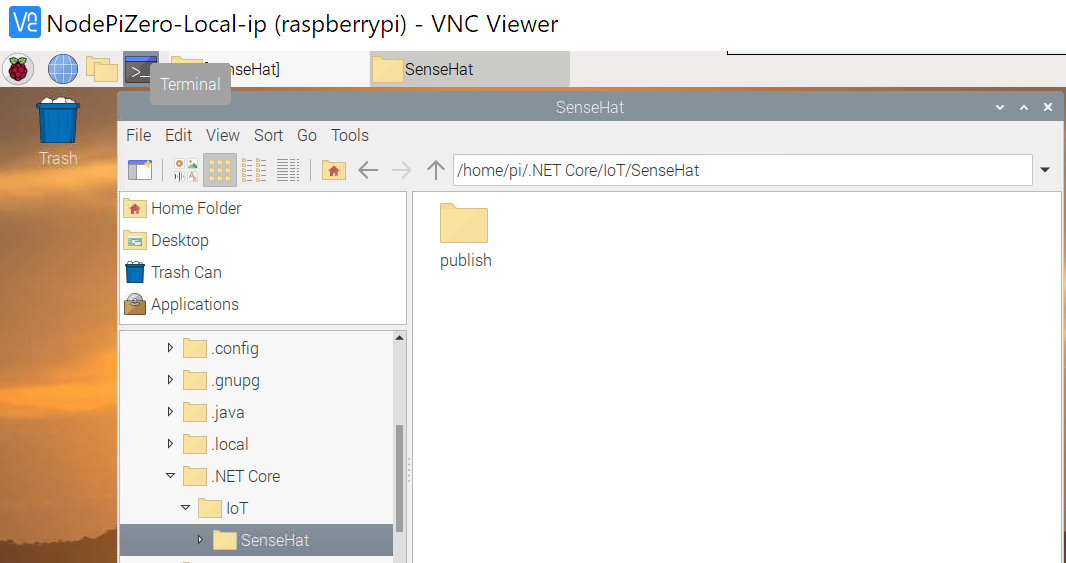
If desired the folder can be cut and pasted to another location i.e. /home/pi/.Net Core/IoT/SenseHat
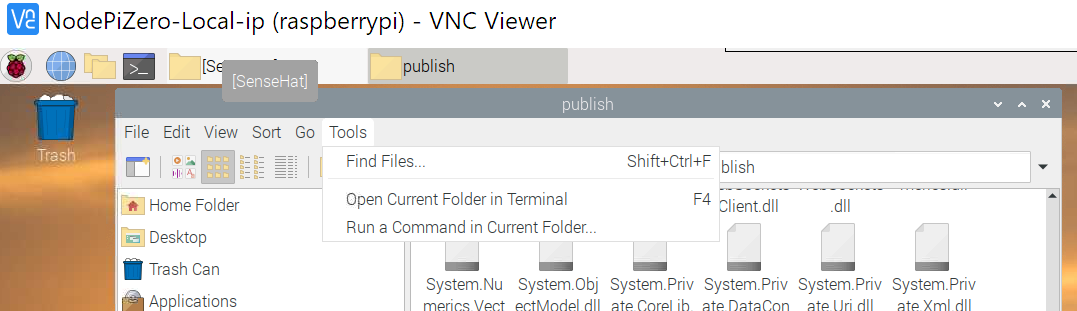
Open the terminal and navigate to the publish folder
Make the sample executable And the run the executable

sudo chmod 755 ./SenseHat.Samples
.SenseHat.samples
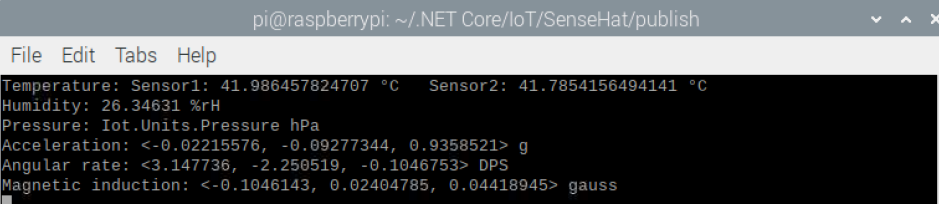
This will display the sensor data from the RaspberryPi