
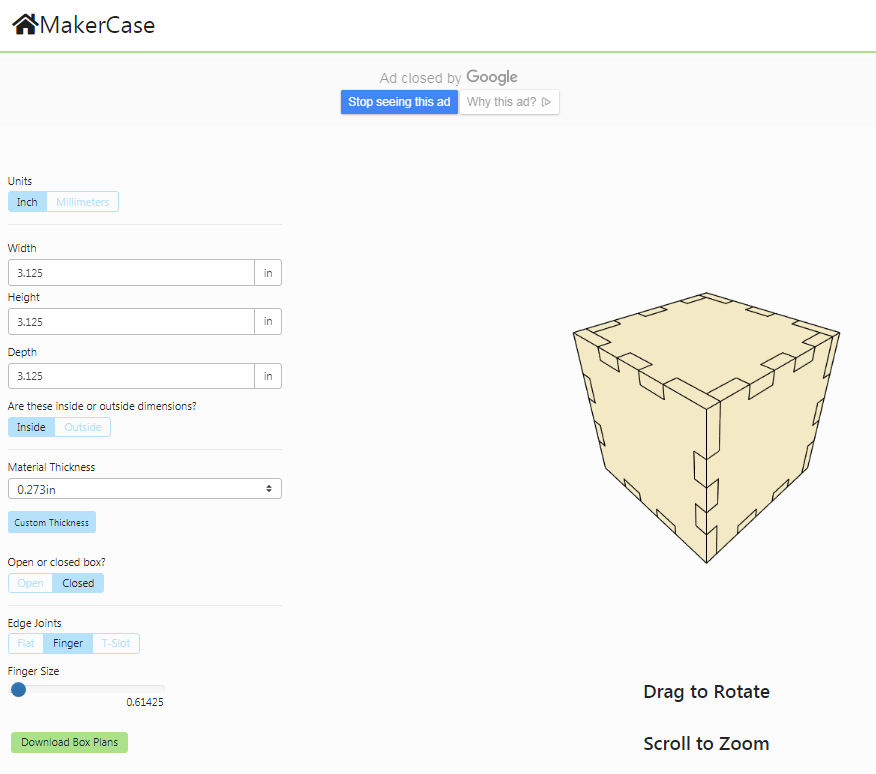
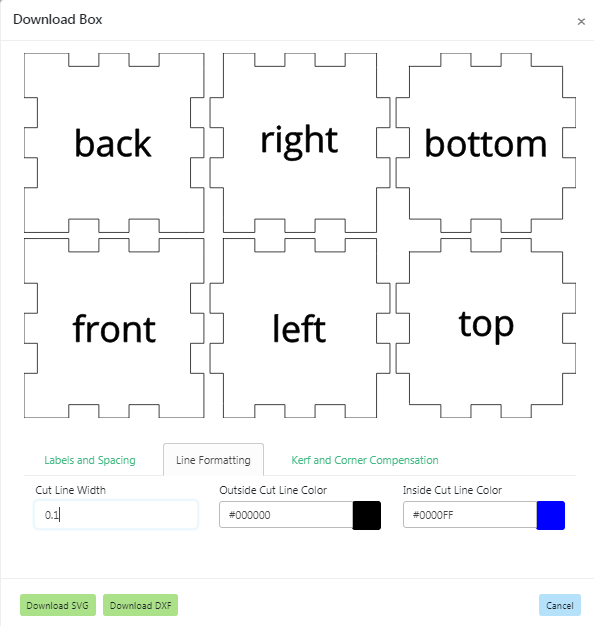
Create Box on MakerCase.com and download svg file
On the download window change the cut line color to black
Create new file using dimensions needed adjust in document properties
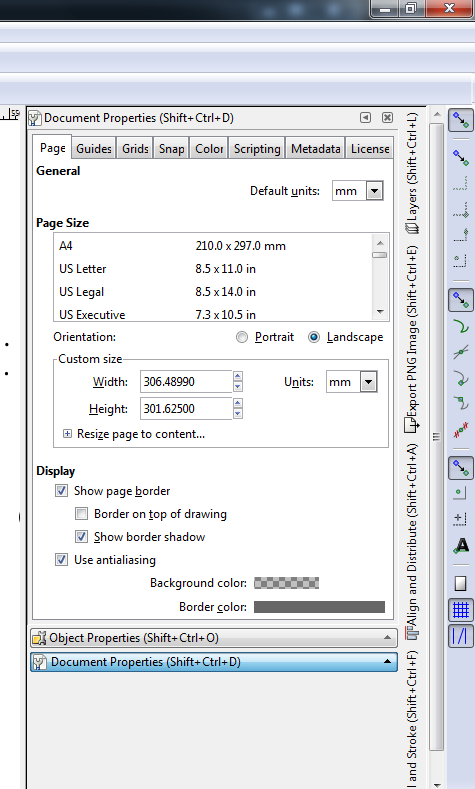
Import makercase File into Inkscape
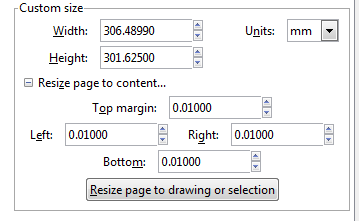
resize page to drawing leaving .01 margin if lines are on border of image
Create File On Desktop
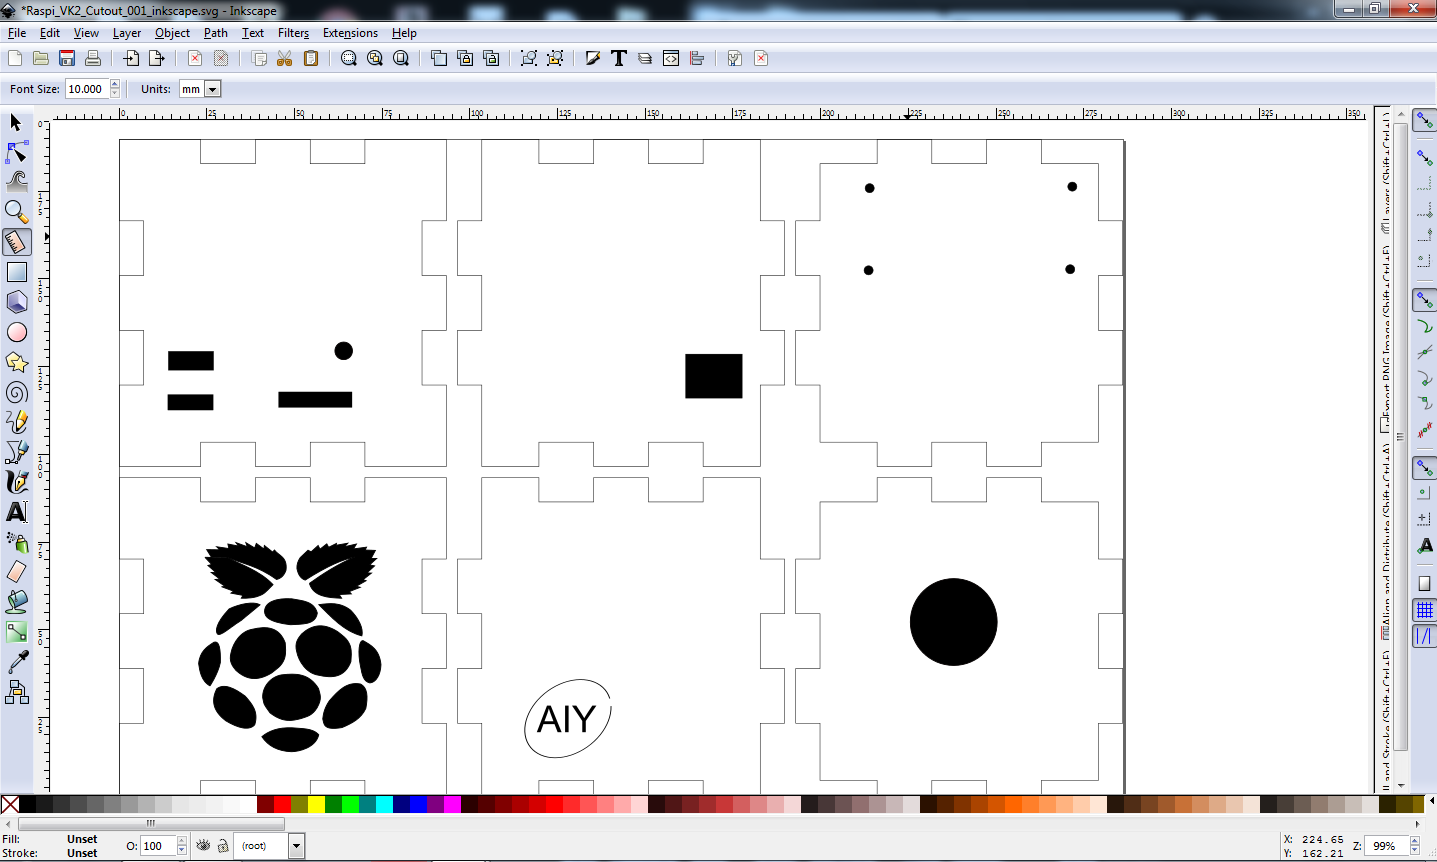
For Each Shape Create Outline (Black And White contrast works best)
Edit Select All
Path -> Object to Path
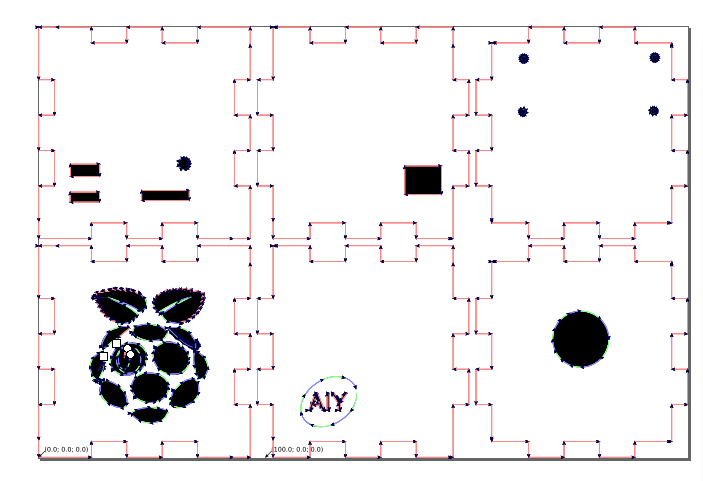
Extensions -> Generate G code -> J Tech Photonics Laser Tool
Make adjustments for material being Cut

Click Apply to generate G code
THe image Should now appear with the cut pattern overlayed on graphic. Verify the 00 point is in a spot that aligns with drawing and not off screen.
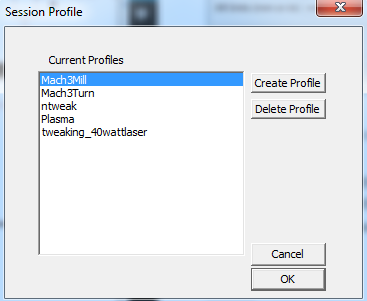
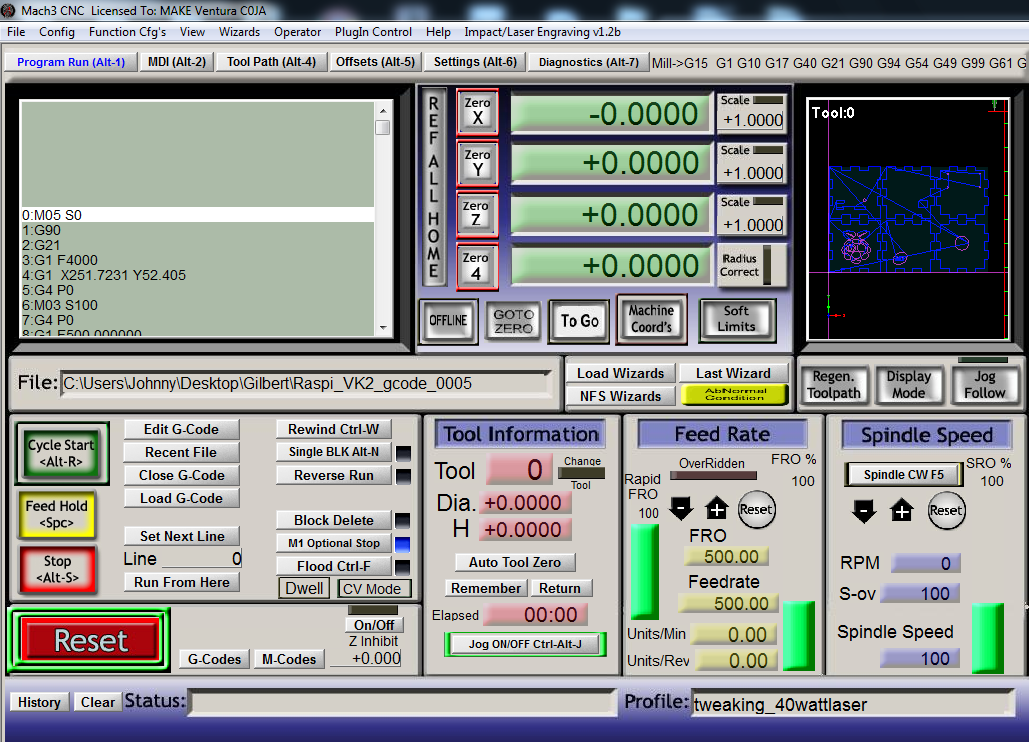
Run the MACH3 Loader

On the session profile Select the tweaking_40wattlaser
This will open the Mach 3 program window
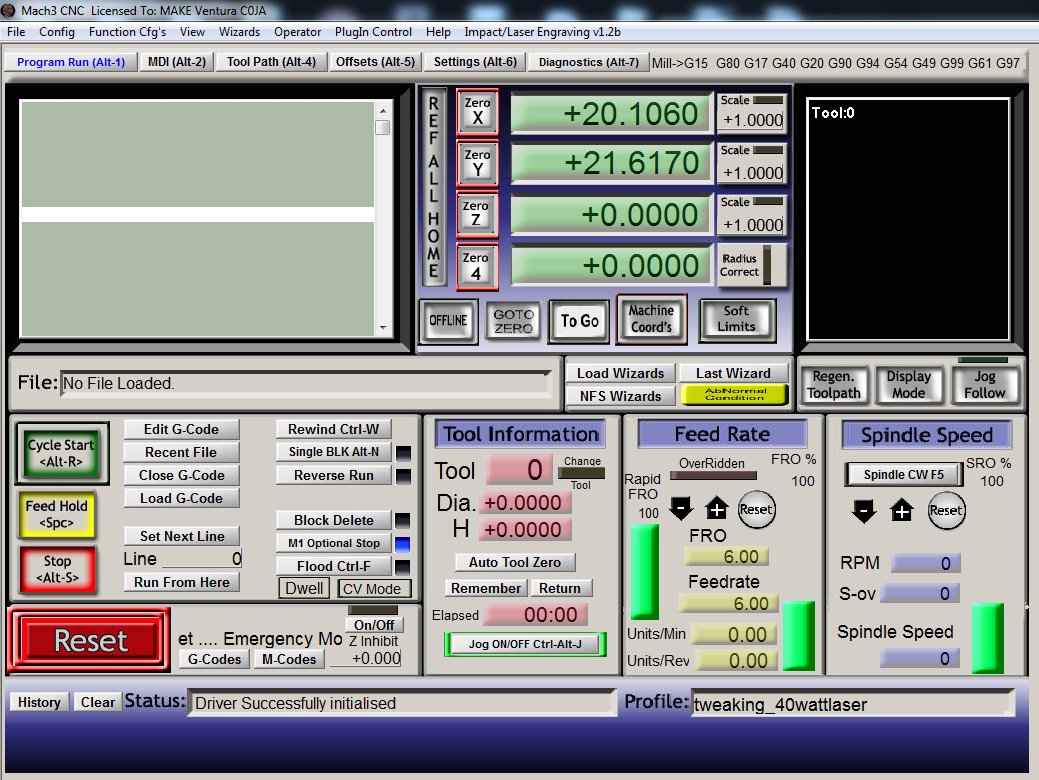
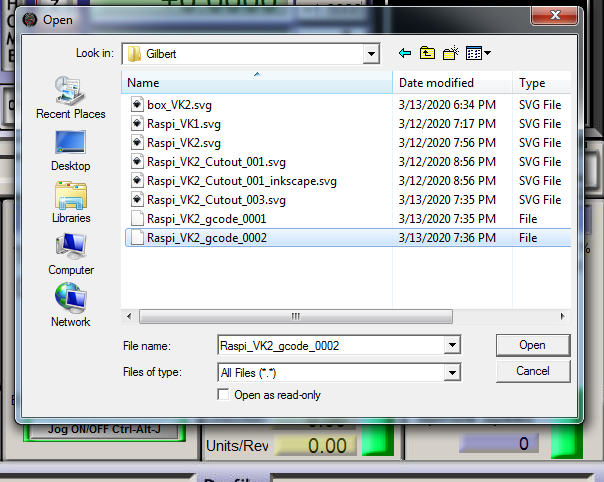
Click Load G code and select the previosly generated gcode file (Files of type may need to be set to all files)
Review Tool Path on image preview
Navigate through code to find errors
If errors are found look for errors on inkscape and follow the previous step until a clean cut image appears
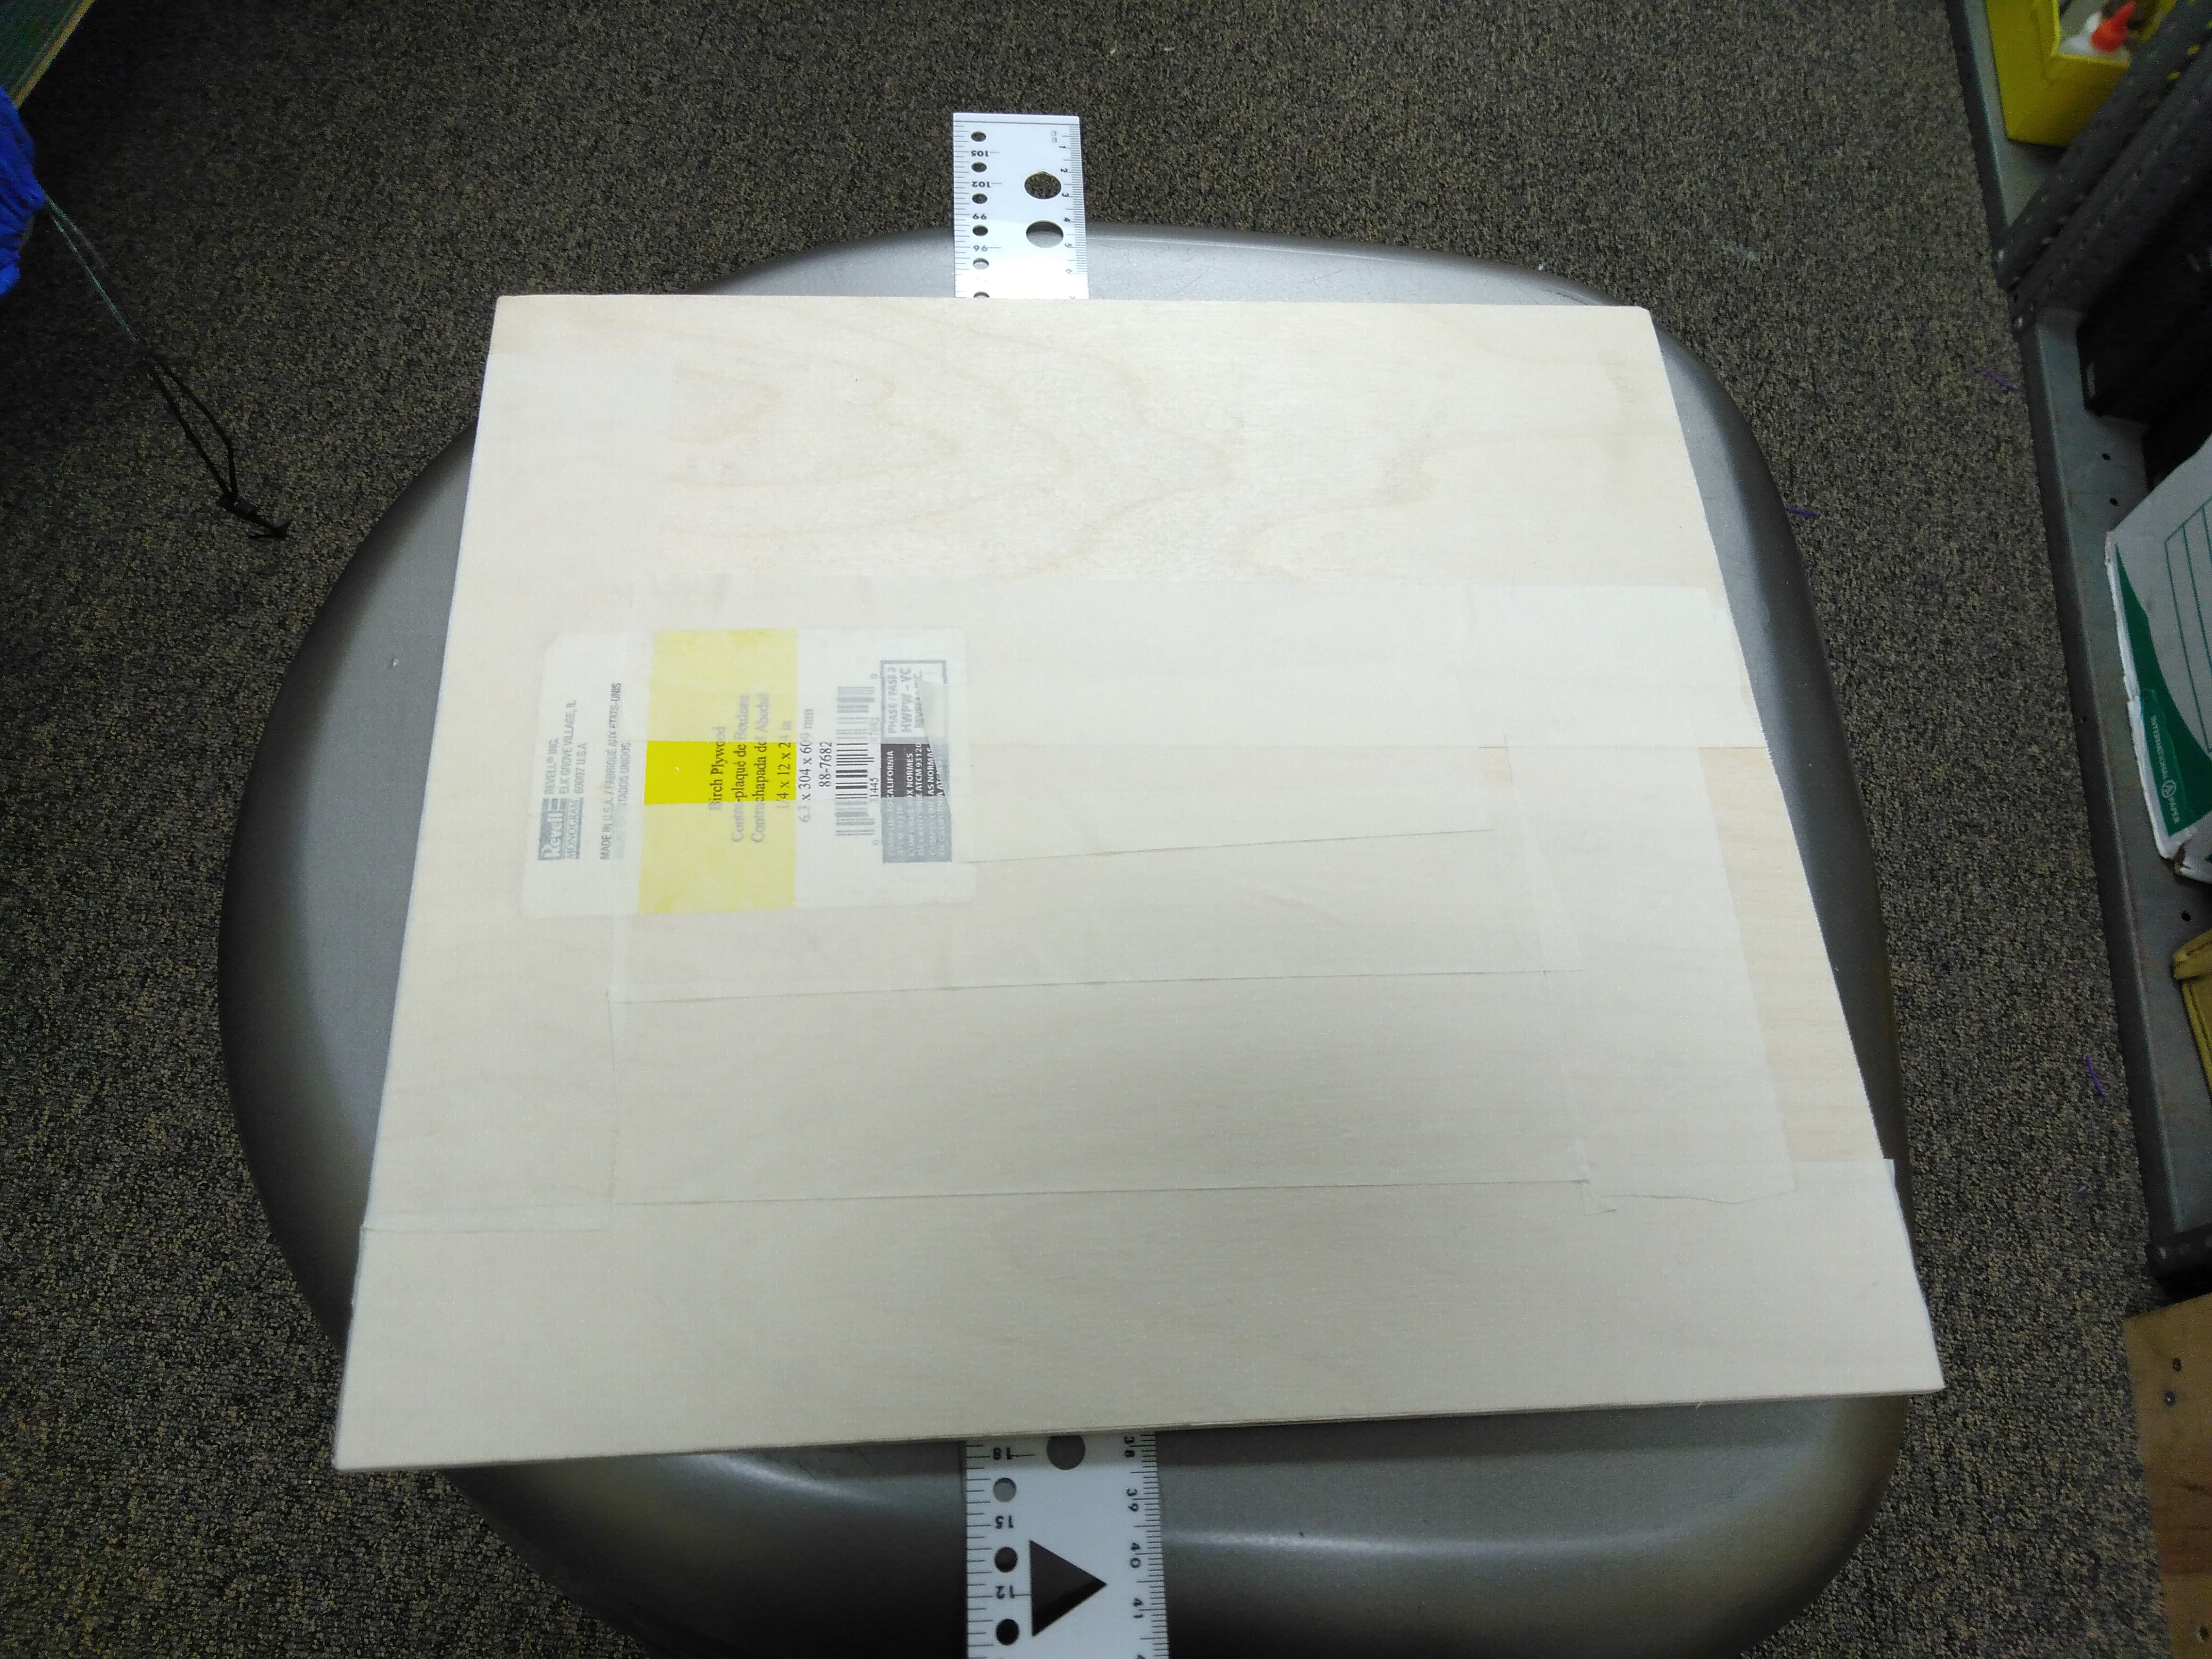
Prepare material for cutting
Place material in cutter

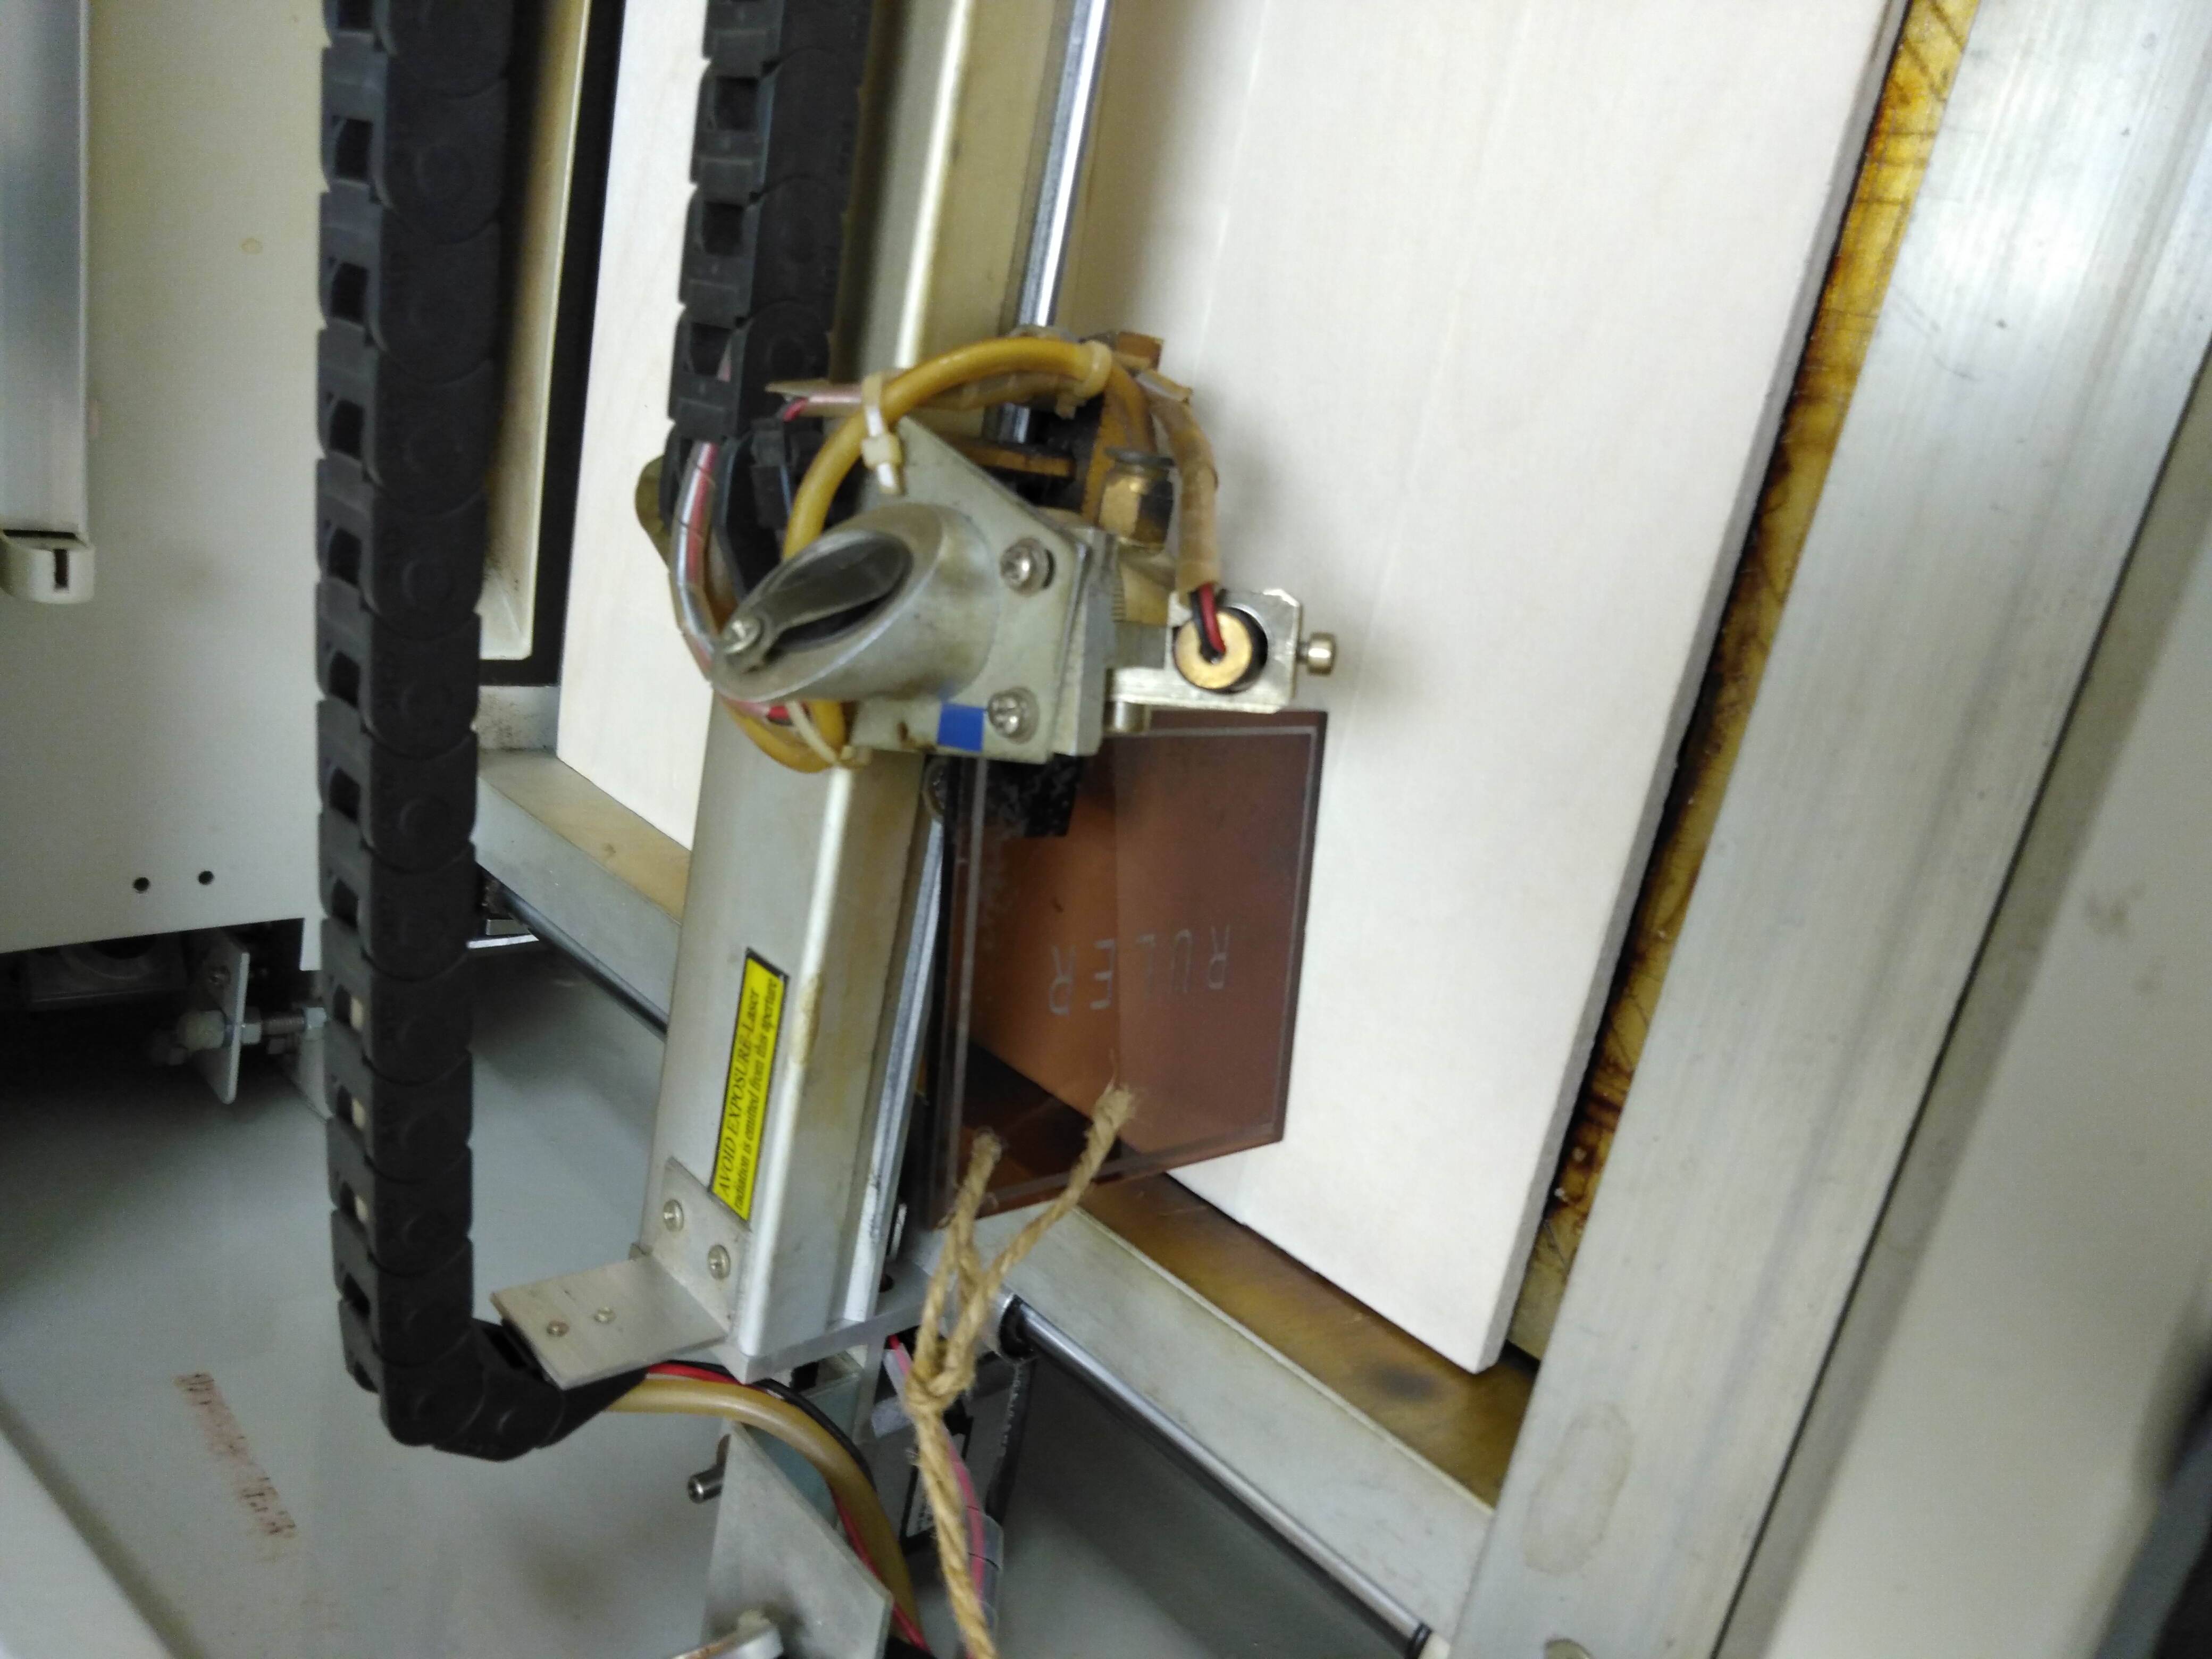
focus the laser using the ruler tool
Power on the laser and exhaust fan
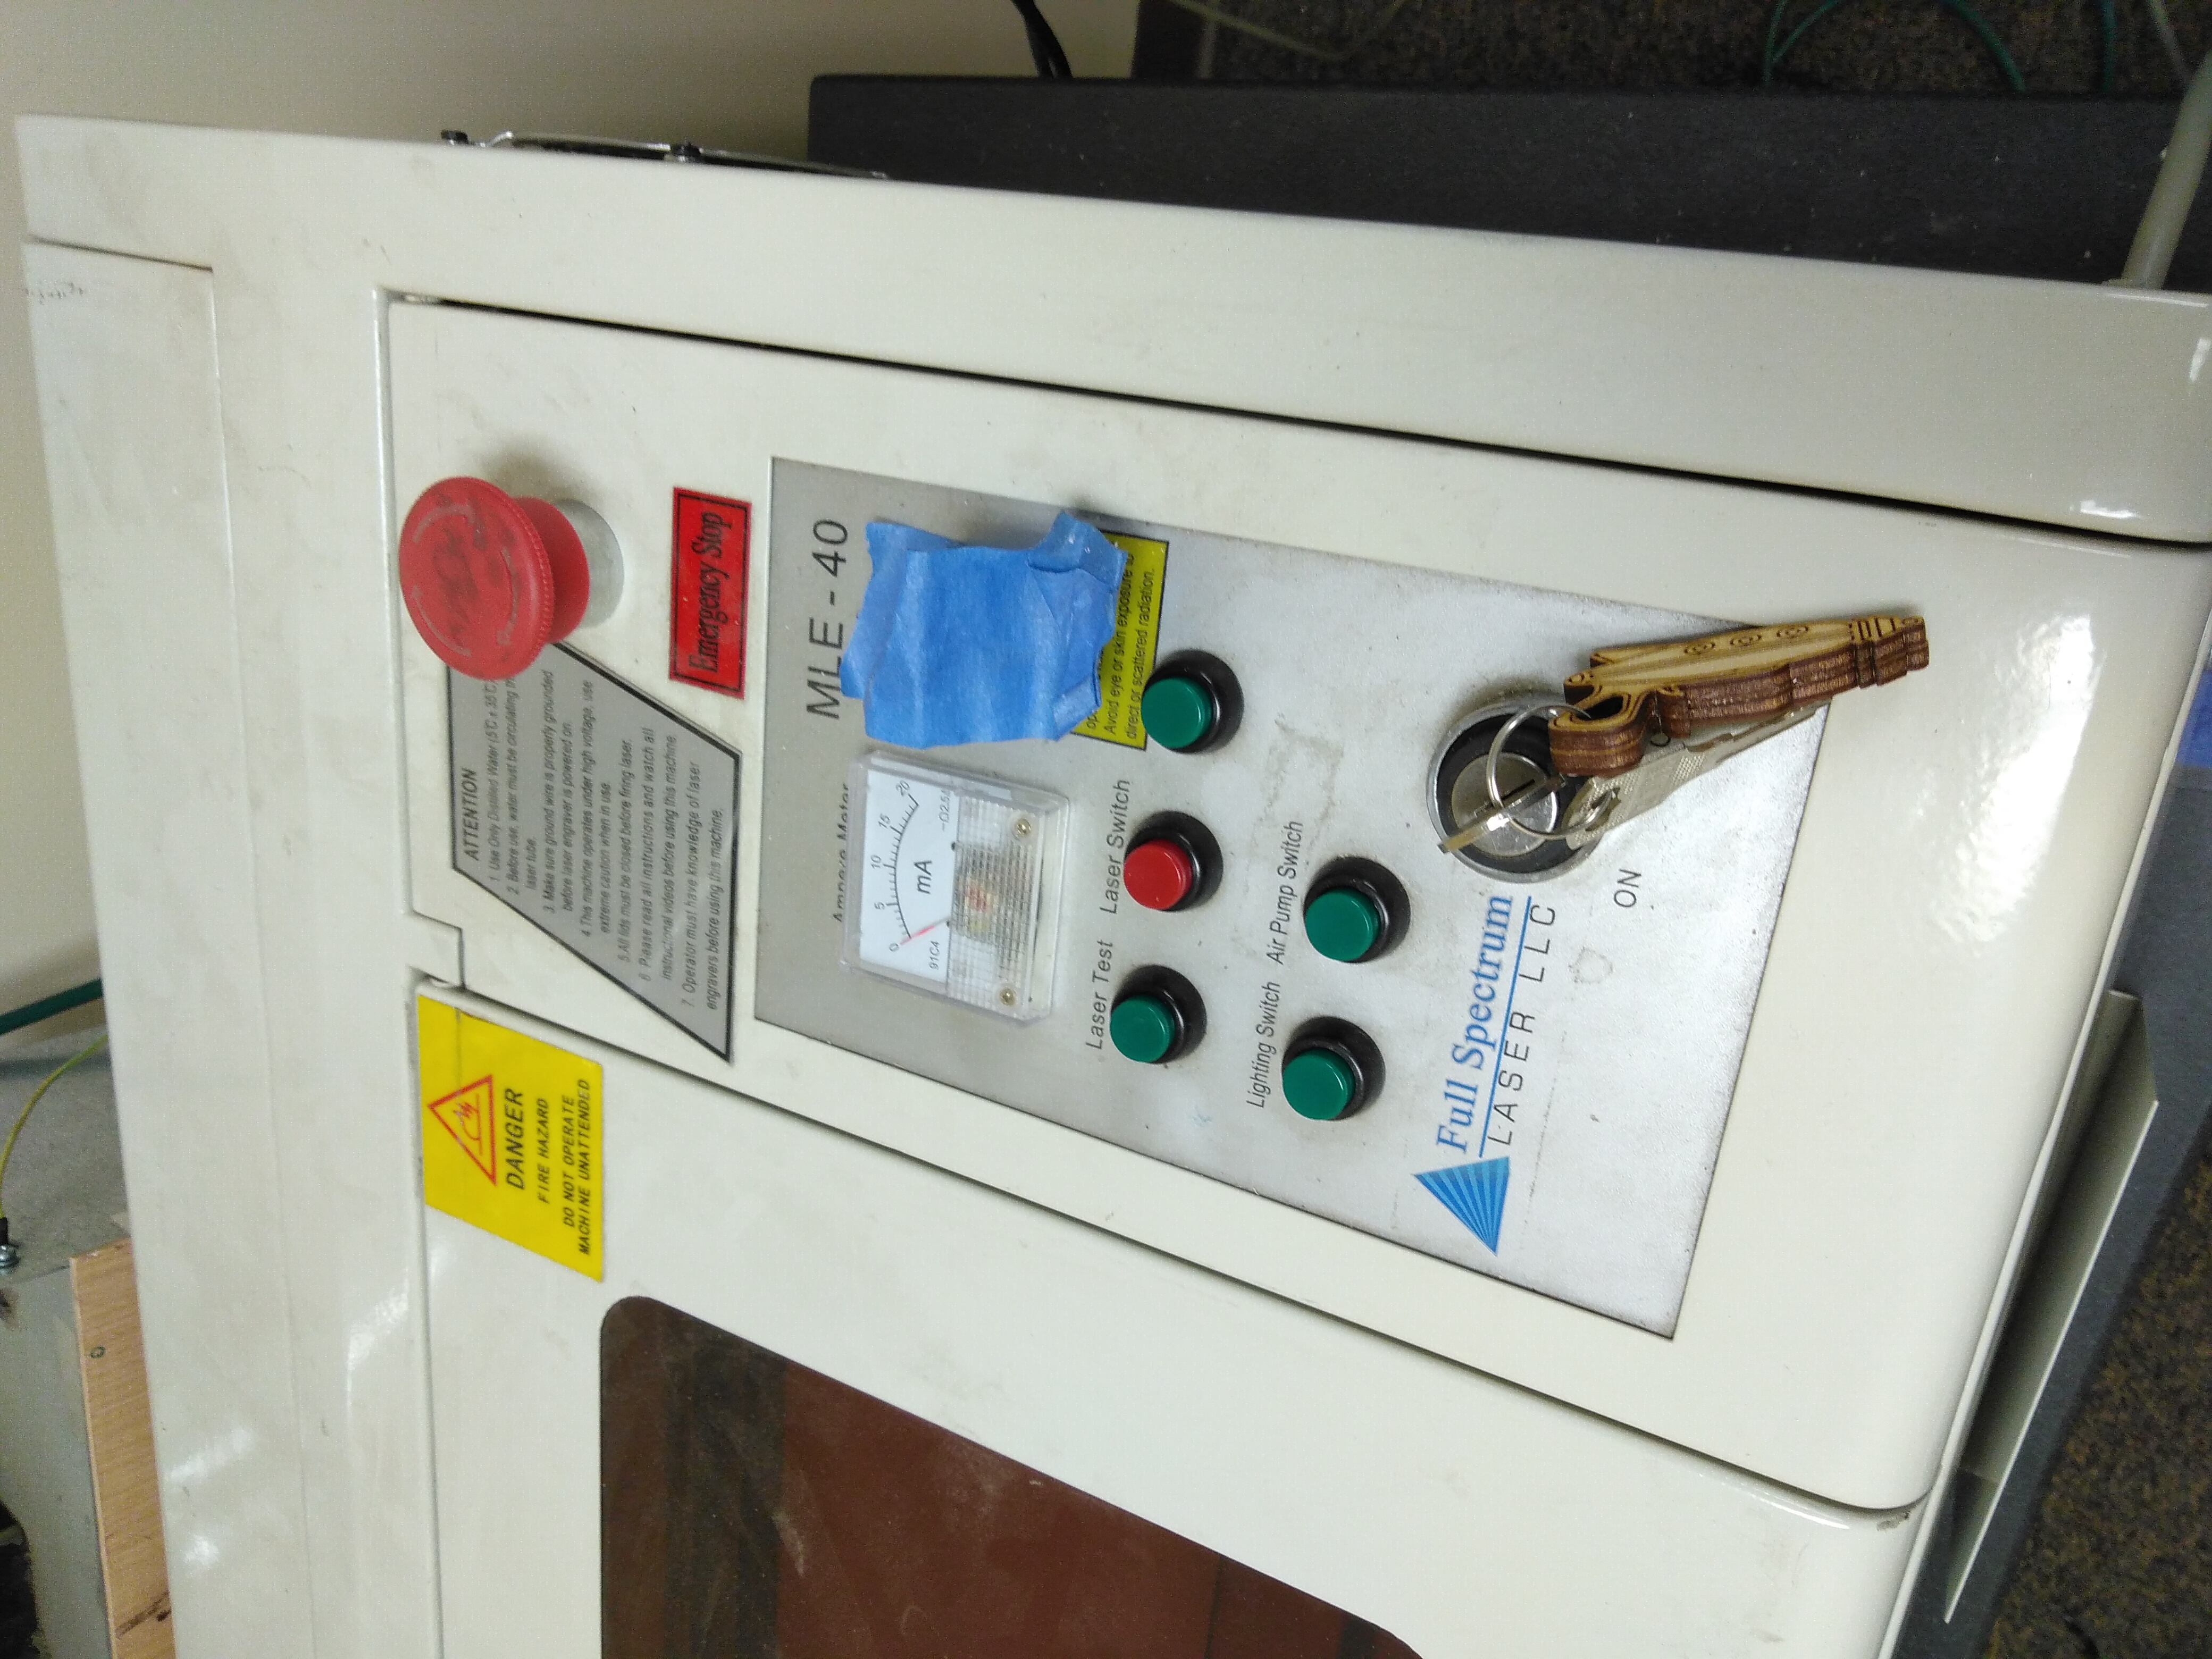
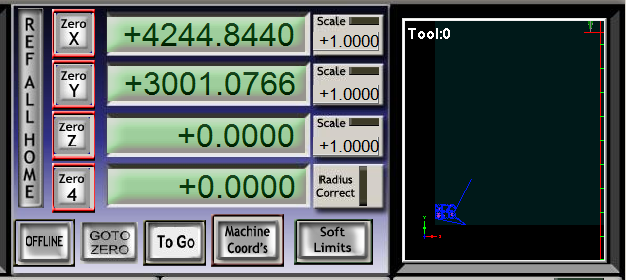
Click Reset to Lock In Place and Zero out the x and y position
Test Gcode first. Turn off laser and run code to observe laser movements.
When Gcode is validated turn on Laser Switch and start the cut.
Multiple runs of the Gcode can be run to cut through completely through material
Power off laser cutter
close G code
close Mach3 CNC
end Session click Yes
Fixture Save click No
When image is wrong size
export original image to png
Create new inkscape file
adjust image size to the correct size
Import Exported png file
then follow steps to generate G code